How To Make a Paper Snowflake
A step-by-step guide on how to make a paper snowflake
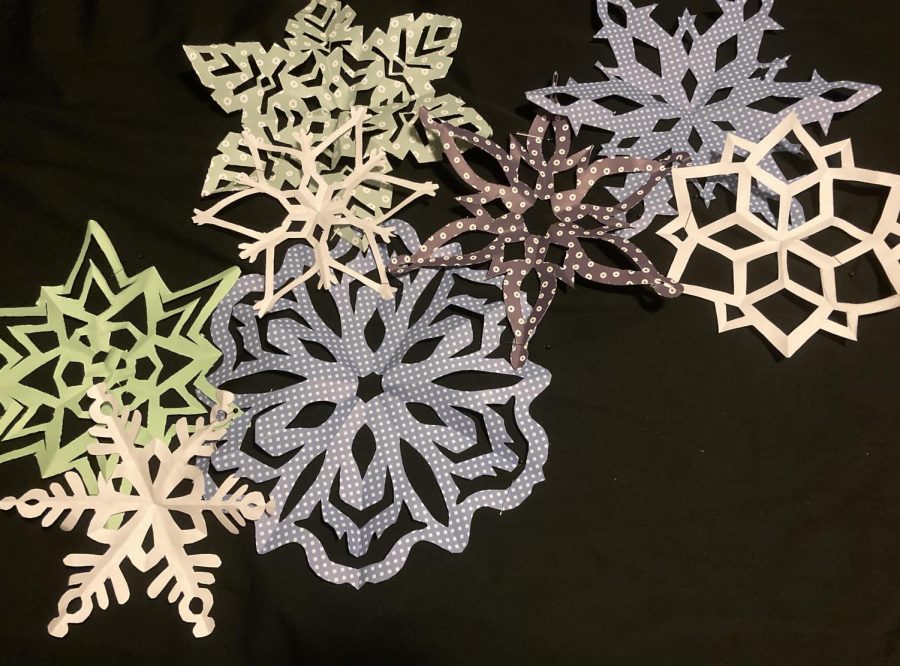
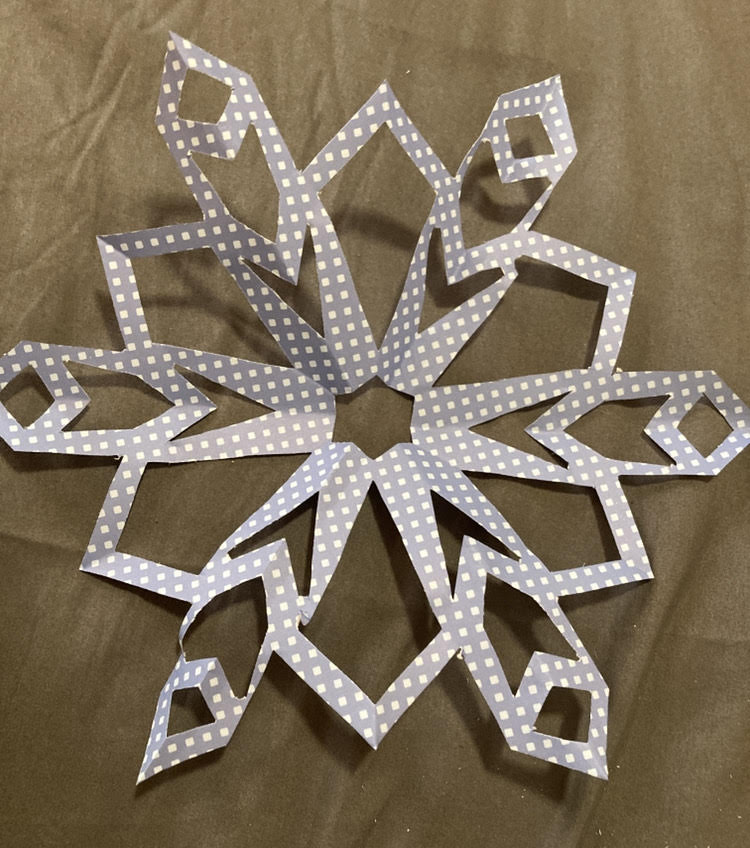
An array of hand made paper snowflakes made using the techniques in this article.
Each year the winter season is filled with dreams of the magic of snow, especially in areas like ours that get little snow each year. One popular activity throughout the years has been making paper snowflakes in the winter, pretty delicate patterns to decorate with and enjoy making.
The project is simple and requires few supplies, perfect for the whole family on cold rainy nights.
You will need one piece of paper, preferably printer paper or larger; a pair of scissors; and a pencil. In addition, you may desire to use patterned paper or additional supplies to decorate your snowflake with. Ideas for this include glitter, or markers, or even googly eyes!
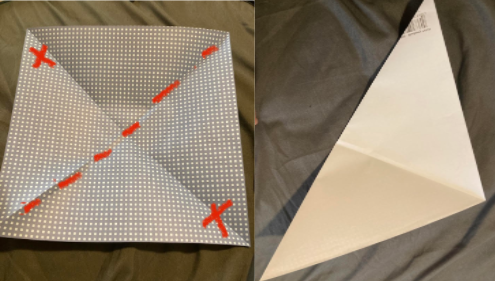
Step one: To begin you will fold the piece of paper in half diagonally so that each side lines up with the adjacent side. Trim off the excess if your starting paper was not square.
Step two: Fold the paper diagonally again.
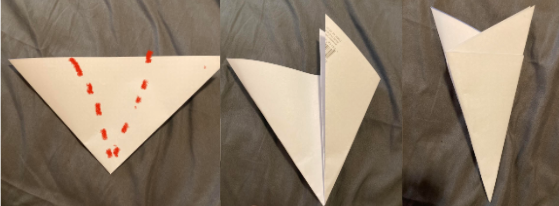
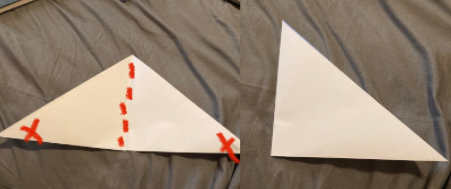
Step three: fold the triangle into thirds to create three equal triangles. Trim the excess off the top.
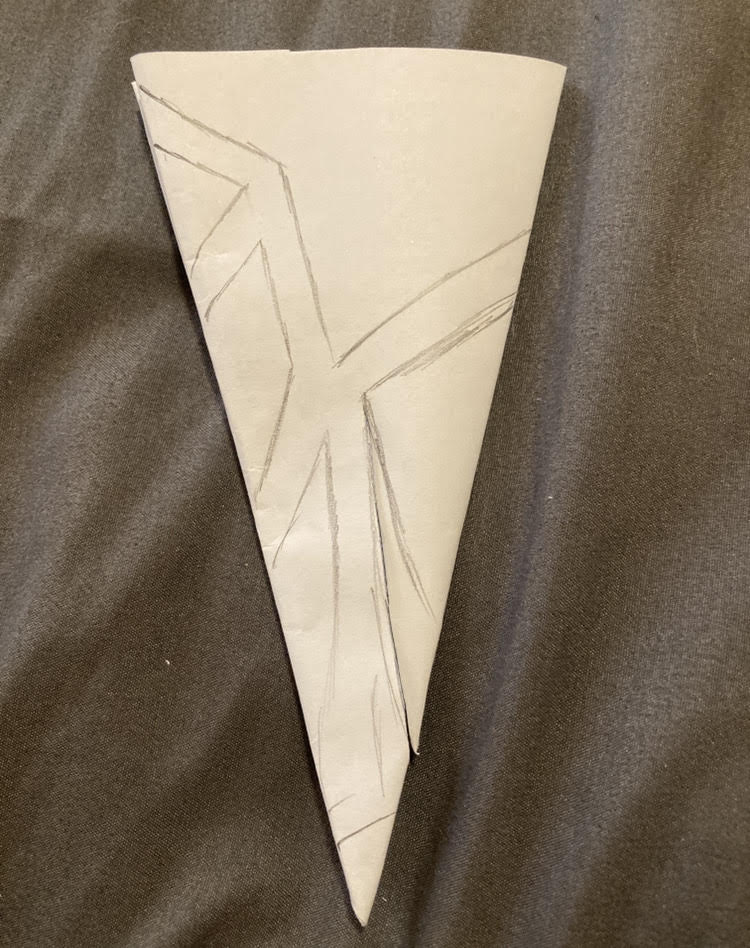
Step four: Sketch out the design for your snowflake. Make sure you never cut all the way down one side or all the way across the paper as that will result in your snowflake being multiple pieces. One way to find designs is to google “paper snowflake pattern” for inspiration and an idea of what it should look like.
Tips and Tricks for Creating Snowflake Patterns
- If you cut part way down one side of the snowflake, it will more clearly divide into six prongs once you unfold it.
- If you use simpler, larger cuts and leave only thin strips of design, your snowflake will look more clean and detailed than if you were to only cut out small pieces of paper
- Experiment, you might not get it perfect the first try and that’s okay

Step five: Once you draw out your ideal snowflake design, carefully cut through the 12 layers of paper.
Step six: Unfold the paper to reveal your snowflake, you can refold it and make adjustments until you are satisfied with the finished product. If you so choose you can also add decorations to your snowflake using pens or glitter.